Getting started with the Bitrise Build Cache
The Bitrise Build Cache is a fully managed caching solution that reduces CI build durations for applications built with Gradle and Bazel build systems. It specifically caches build and test outputs to minimize how much work is done in subsequent builds, making it more efficient in environments with frequent updates. Compatible with any CI tool, it accelerates the build cycle without requiring you to manage a caching infrastructure.
The Bitrise Build Cache is a fully managed caching solution that reduces CI build durations for applications built with Gradle and Bazel build systems. It specifically caches build and test outputs to minimize how much work is done in subsequent builds, making it more efficient in environments with frequent updates. Compatible with any CI tool, it accelerates the build cycle without requiring you to manage a caching infrastructure.
Try it for free
We offer a 30-day free trial at no cost; you don't even need to provide payment information. The trial starts automatically when you set up the Bitrise Build Cache.
Click here to get started with the Bitrise Build Cache. If you don't have a Bitrise account, you will be prompted to create one first before proceeding to set up the Build Cache.
Bitrise supports remote build caching for the following build systems:
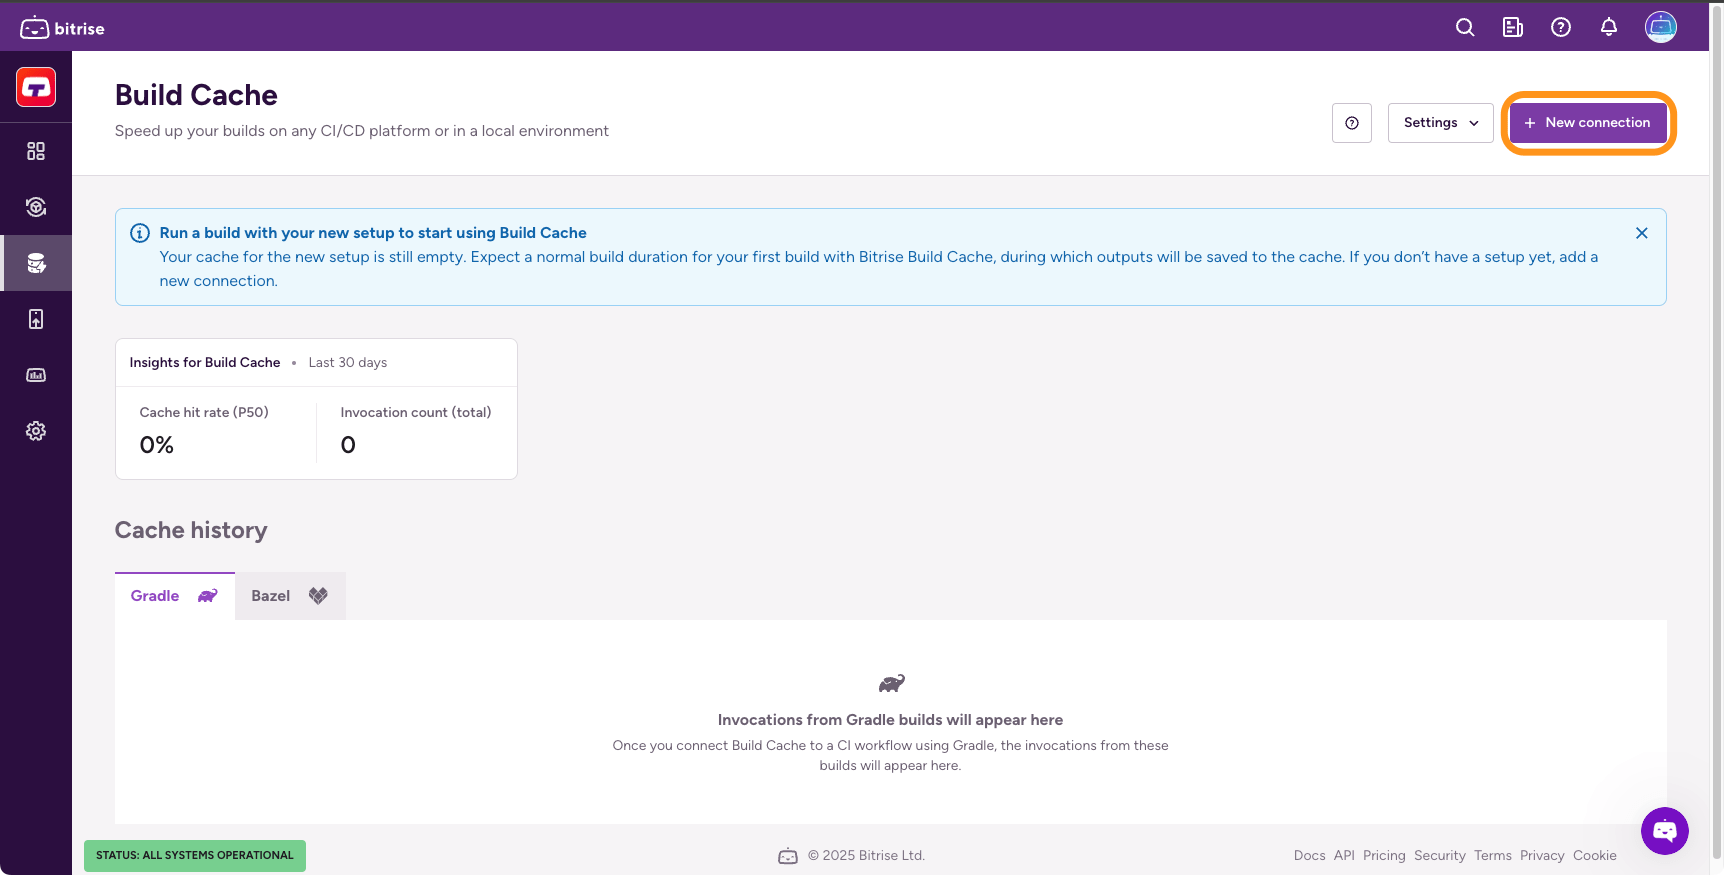
Adding a new connection to the Build Cache
To start using the Bitrise Build Cache, you have to add a new connection. The process consists of:
-
Selecting a CI provider: you can use either Bitrise or another CI provider.
-
Selecting a build tool: currently, Bazel and Gradle are supported.
-
If you use Bitrise as your CI provider, selecting a Bitrise project.
-
If you use a different CI provider, adding a personal access token to allow the Bitrise Build Cache access to your CI.
-
Adding the cache activation scripts to your CI process. On Bitrise, we have dedicated Steps for this.
To add a new connection:
-
Log in to Bitrise and select the Build Cache from the left navigation menu.
-
On the top right corner, click .
-
Follow the instructions.
Detailed instructions
For more information on configuring the Build Cache, refer to our dedicated guides: